Visual management is one of the most effective ways to strengthen communication, drive accountability, and embed Lean practices in your workplace. But for many businesses, the challenge is knowing where to start.
At My Visual Management, we work with organisations across industries to design and deliver tailored solutions that make information clear, at a glance. Here’s our step-by-step approach to implementing visual management in a way that truly works.
1. Identify What Information Needs to Be Visible
The first step is to ask: What information does my team need to see instantly to perform at their best?
-
Are you tracking KPIs and performance metrics?
-
Do you need to highlight cleaning and 5S responsibilities?
-
Would a Continuous Improvement board help focus daily activity?
By clarifying your needs, you can prioritise your visual management programme.
2. Choose the Right Visual Tools
Visual management isn’t one-size-fits-all. Depending on your goals, you might use:
-
KPI boards to display targets and progress.
-
5S boards to support workplace organisation.
-
Cleaning stations to define responsibilities and maintain standards.
-
Continuous improvement boards to keep improvement projects on track.
At My Visual Management, we specialise in creating boards that are designed around your processes, ensuring they add real value from day one.
3. Keep It Simple and Clear
The best visual systems are easy to understand at a glance. Avoid overcrowding your boards with too much detail — instead, focus on what’s most important. Consistent layouts, clear headings, and intuitive designs make boards easier to use and update.
4. Position Boards Where They’ll Be Used
Location matters. Boards should be placed where work happens, not hidden away in an office. When positioned correctly, they become natural touchpoints for daily discussions, team huddles, and problem-solving.
5. Build in Ownership and Routine
A common mistake with visual management is failing to update boards regularly. To avoid this, assign ownership — whether to a team leader or rotating staff members. Make reviewing and updating boards part of daily or weekly routines, so they stay relevant and effective.
6. Review and Improve Over Time
Visual management should evolve with your business. Once your first board is in place, review its effectiveness:
-
Is the information still relevant?
-
Are the visuals helping people make decisions faster?
-
Would adjustments make it clearer or easier to use?
At My Visual Management, we encourage starting small and expanding. This approach ensures success is built step by step, and boards remain meaningful over the long term.
Making Continuous Improvement Visual
Implementing visual management isn’t just about putting up boards — it’s about creating a culture where information is visible, understood, and acted upon.
By identifying the right information, choosing the right tools, and embedding routines, you can make visual management a natural part of everyday work. And with tailored solutions from My Visual Management, your team will have the clarity and confidence to keep continuous improvement moving forward.
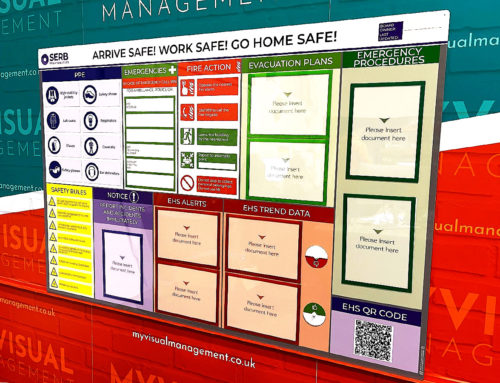
Make key information visible at a glance with visual management
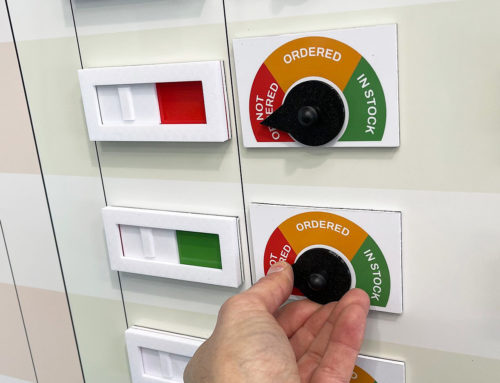
Make status instantly visible.
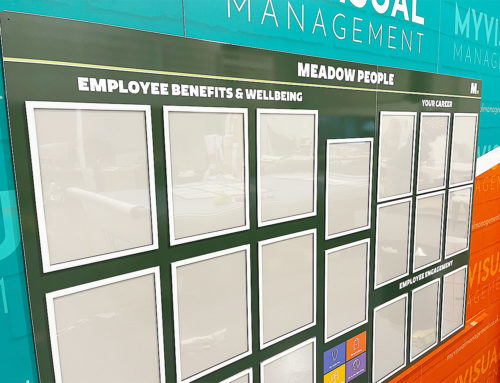
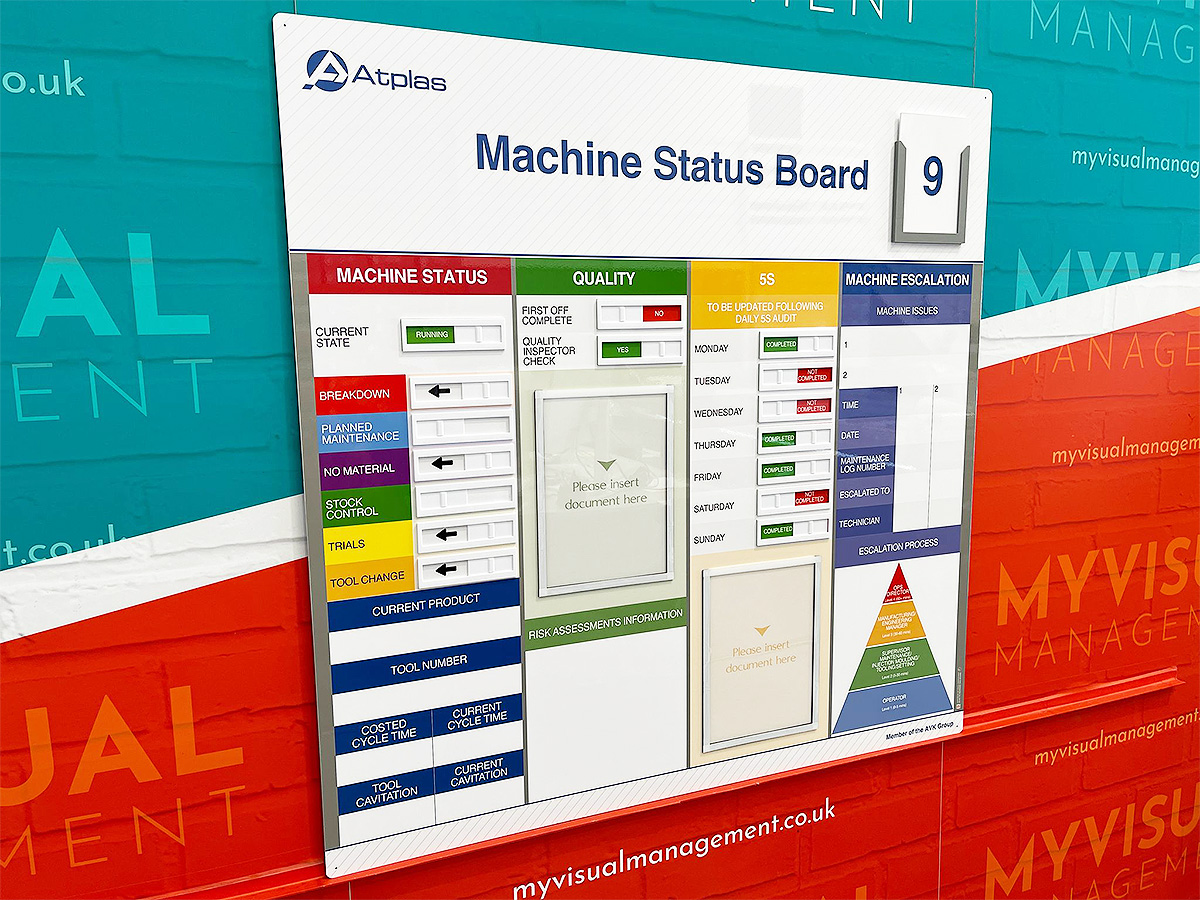
Benefit from interactive and intuitive visual management boards
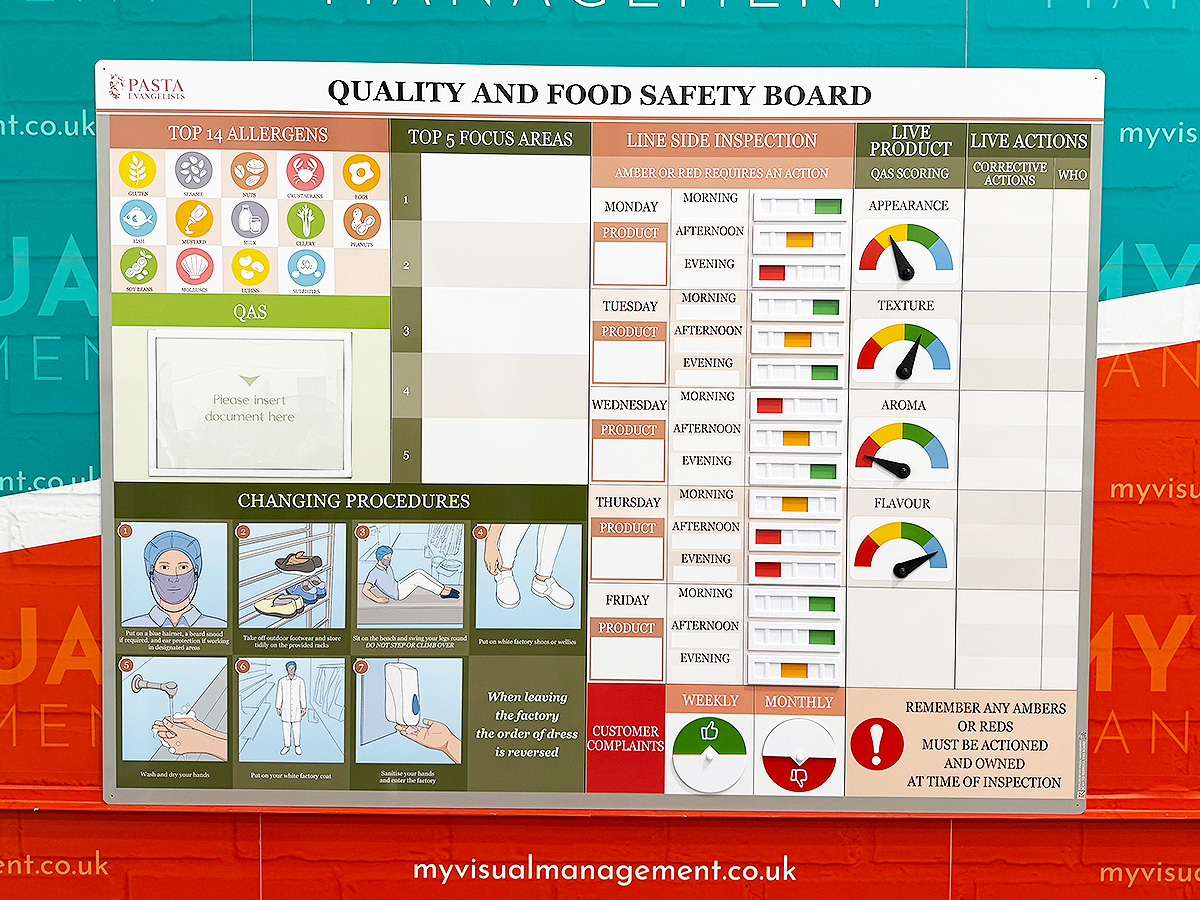
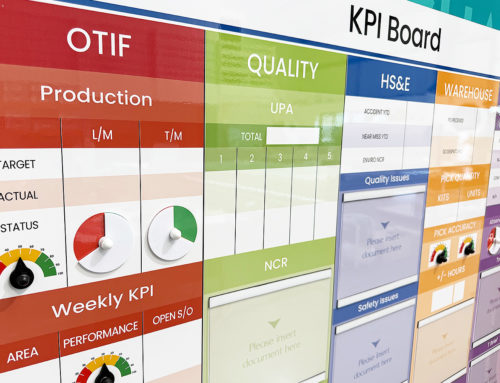
Make performance visible for all the team
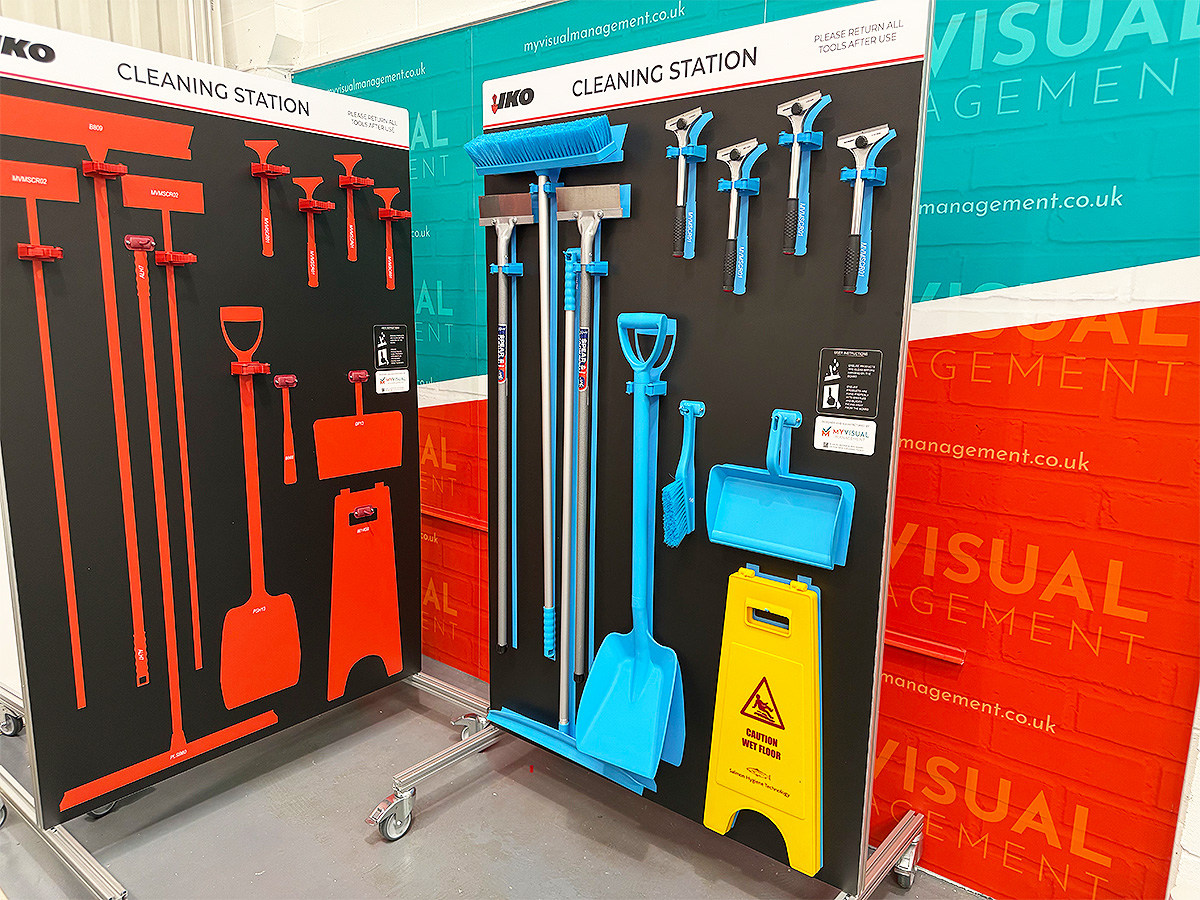
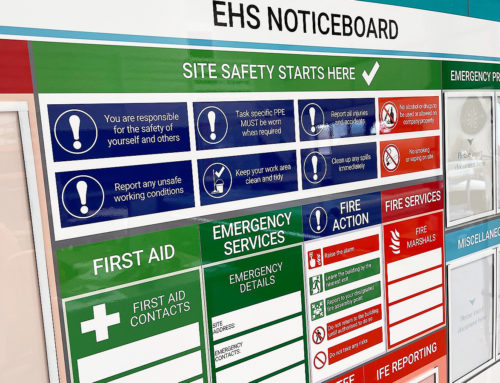
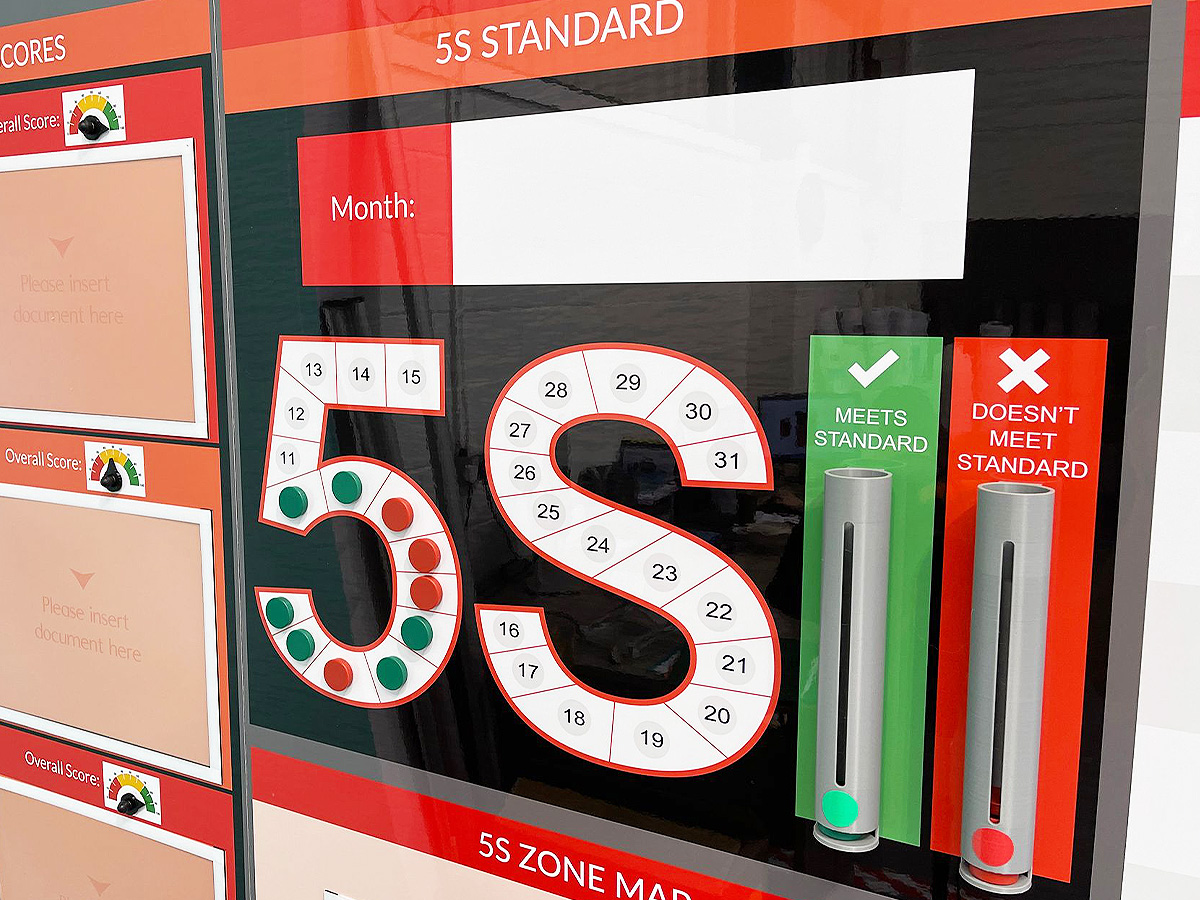
Support best cleaning practices visually
Include the functionality you need
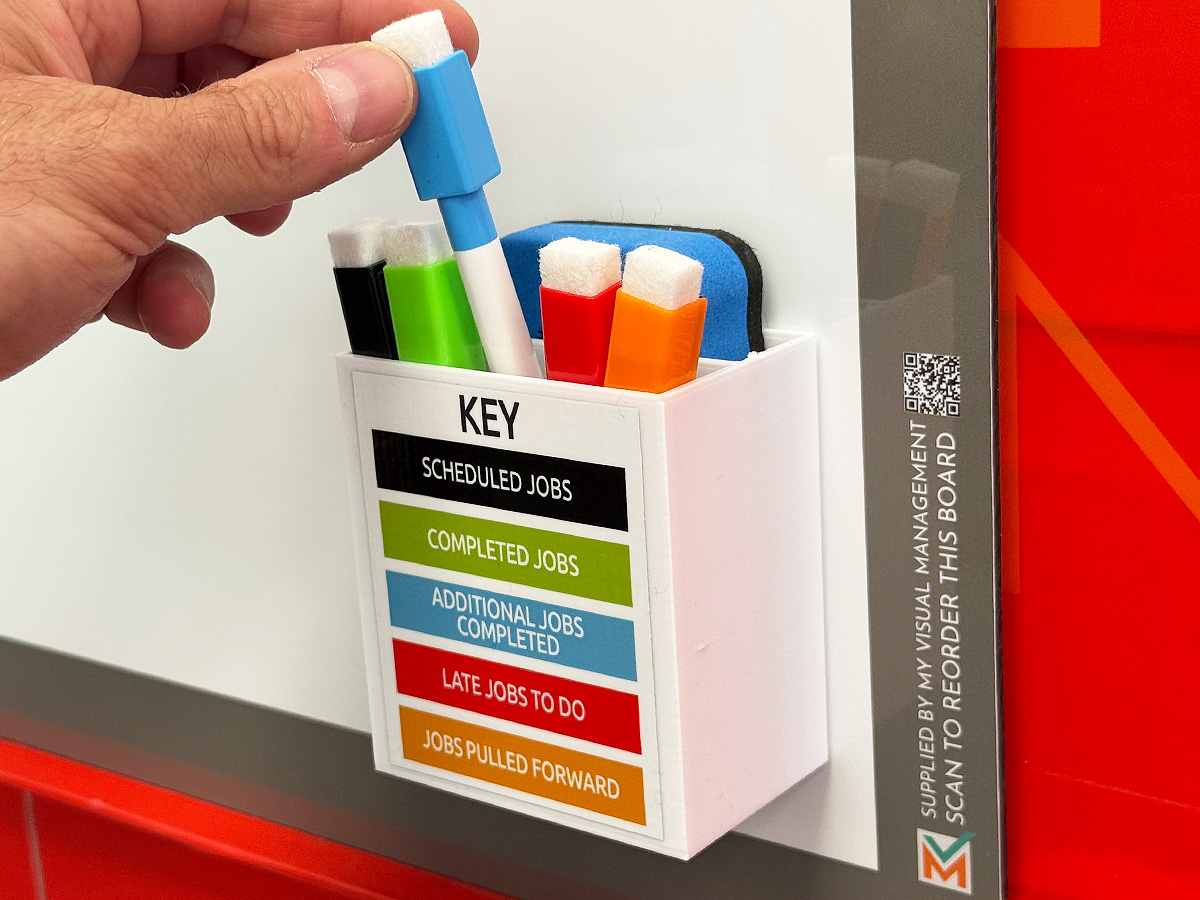
Use colour coding to full effect
Further examples


SQCLEA board

SQDIPT board with status accessories

SQWP Production board

SQCDP Performance Board

SQDIP manufacturing board

SQDCIP Operations board

Tracking manufacturing performance

Operational Review SQD board

SQCDPI Board

SQCD board

Gemba Performance board

SQDCIP Operations board

Management KPIs for SQDPCP

SQDIMP Tracker board

Modular SQD board

SQCDP Performance board

SQCD board with document holders

SQDP board

SQDC magnetic tiles with status counters

QCDP Performance board

Add status sliders to your SQD board

Performance SQCP board

Supply Chain Weekly Board

Daily Management Board

KPI board with status meters
SQDIMP Tracker board

Performance SQCP board

Customer Services Improvement board

Daily KPI board

Engineering and Quality tracking

SQDCP board

SQDE tracking board

Metric tracking, triple shift

SQPD board

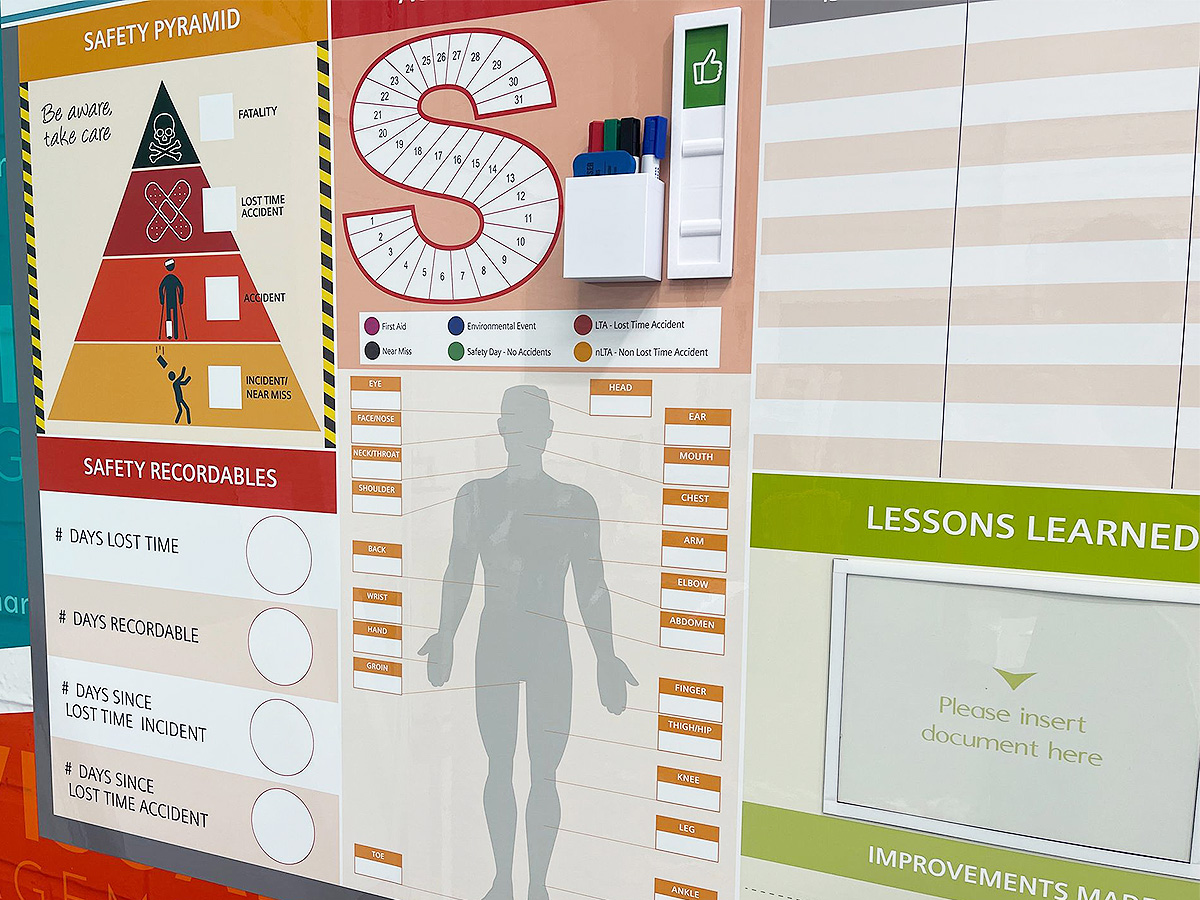
5S & Safety tracking

SQDCP Meeting board

Choose which metrics to track

SIOIA Board

SQCDP Performance Information

SQDCP board

SQDCP meeting board

SQCDP Performance Information

Performance SQCDP board

Show delivery tracking and status

SQCDP board

SQPD visual management

Operations KPI board

Magnetic tiles for flexibility

SQCDP5S board with status tracking

Foundry SQD board

SQDIP for manufacturing

SQDIP Board

SQDIP Board with status sliders

SQKPM board

SQDC magnetic headings

Operations for air travel

Performance obeya

Performance obeya set up

SQDIP board

Custom printed status sliders for SQDIP

Show status with sliders

SQDIP

SQCDPE Performance board

Track your Quality targets

People and Delivery metric tracking

Gemba for retail

SQDIP magnetic tiles

SQDC magnetic tiles

SQACP tracking

Triple shift metrics

HSEQ Performance

SQPIW daily direction setting

SQDIP board

SQCDI Performance board

SQCDP board with document holders

Site scorecard for SQDCP

SQCDE mobile board

Gemba board for air travel

Choose a safety cross

Combine status sliders with dry wipe

Add a graph to chart progress

Utilise colour with SQDP

Make Continuous Improvement visual

Add status meters tracking progress

Track all operations with SQDIPE

SQDIP board with status sliders

Include Environment in SQDC status

Add status sliders to show progress

Track progress with dry wipe status

SQD/5S with magnetic status faces

Document holders keep information safe

Use dry wipe for instant updates

Magnetic labels for your SQD board

Status indicators provide visual updates

Add magnetic status labels

Magnetic status indicator

Set goals. Likewise, update them easily

Safety cross on SQDP board

Status indicator meter for Quality
Our Approach
We create visual management boards everyday. As a result we have plenty of experience. We work for organisations in food production, the power industry, national rail, pharmaceuticals, education, healthcare, packaging and distribution.
Our team works with a simple idea or sketch and creates a professionally designed layout. This is then turned into a highly functional visual management board.
We offer customised options because we want to create the perfect board for you. So, here are a few examples. We can add magnetic areas or a dry-wipe finish (for use with whiteboard pens). Furthermore, you can choose Red/Green sliders or R.A.G. (Red, Amber, Green) status dials so you can quickly and visually update your board. These are just a few examples of the ways in which our boards can be tailored to meet your needs. You may also be interested in whiteboard overlays that can be used on top of an existing magnetic board.