To make a 5S board, take these steps…
Firstly, decide where to put your 5S Board. Above all, locate your board somewhere easily visible near your process. If a wall mounted 5S board in unworkable then consider a mobile board instead.
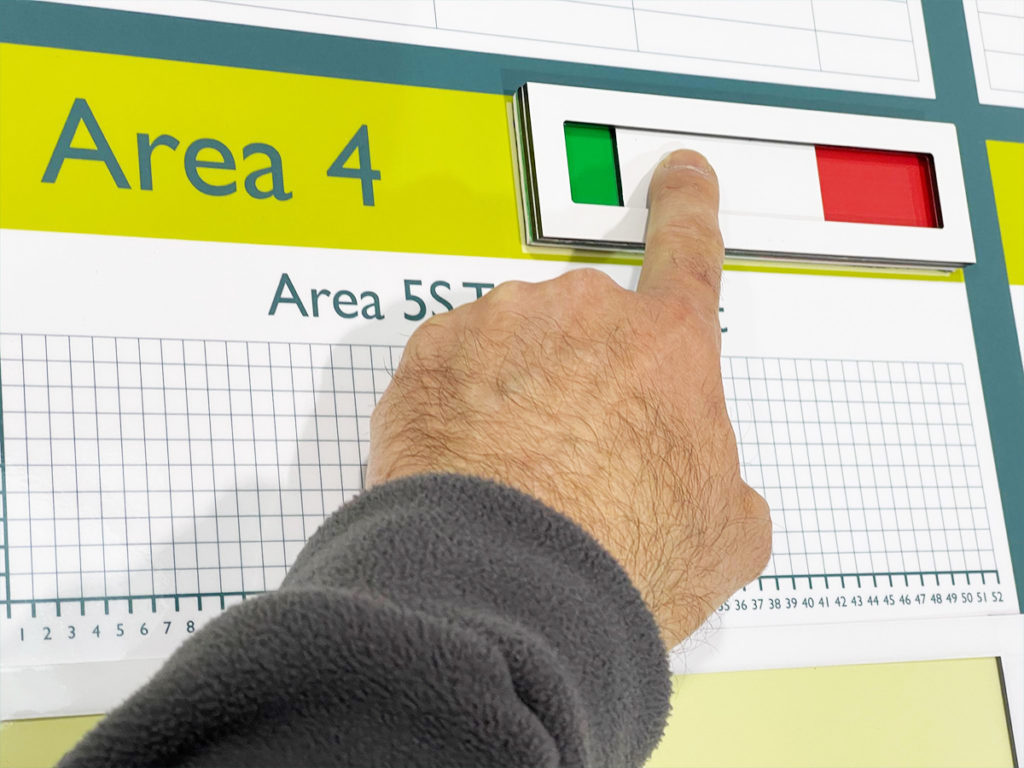
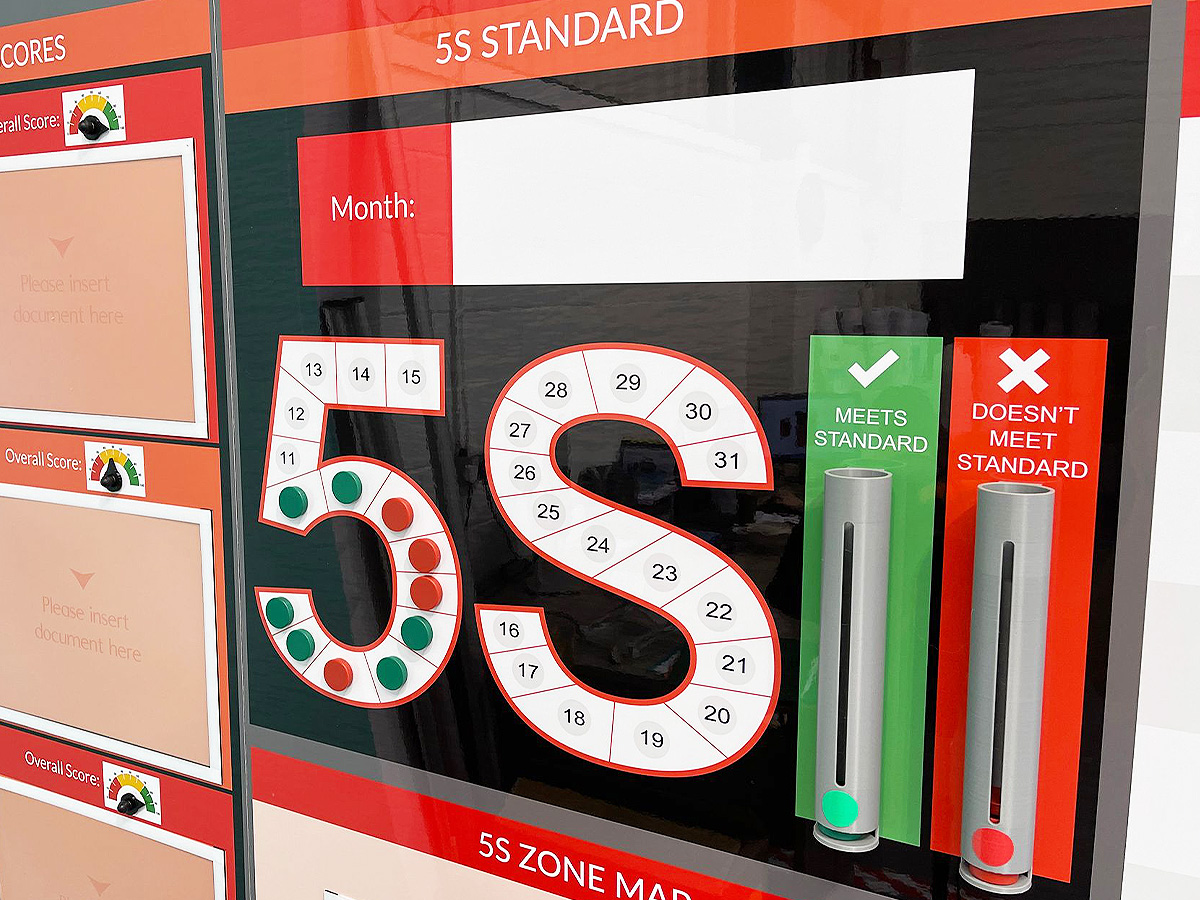
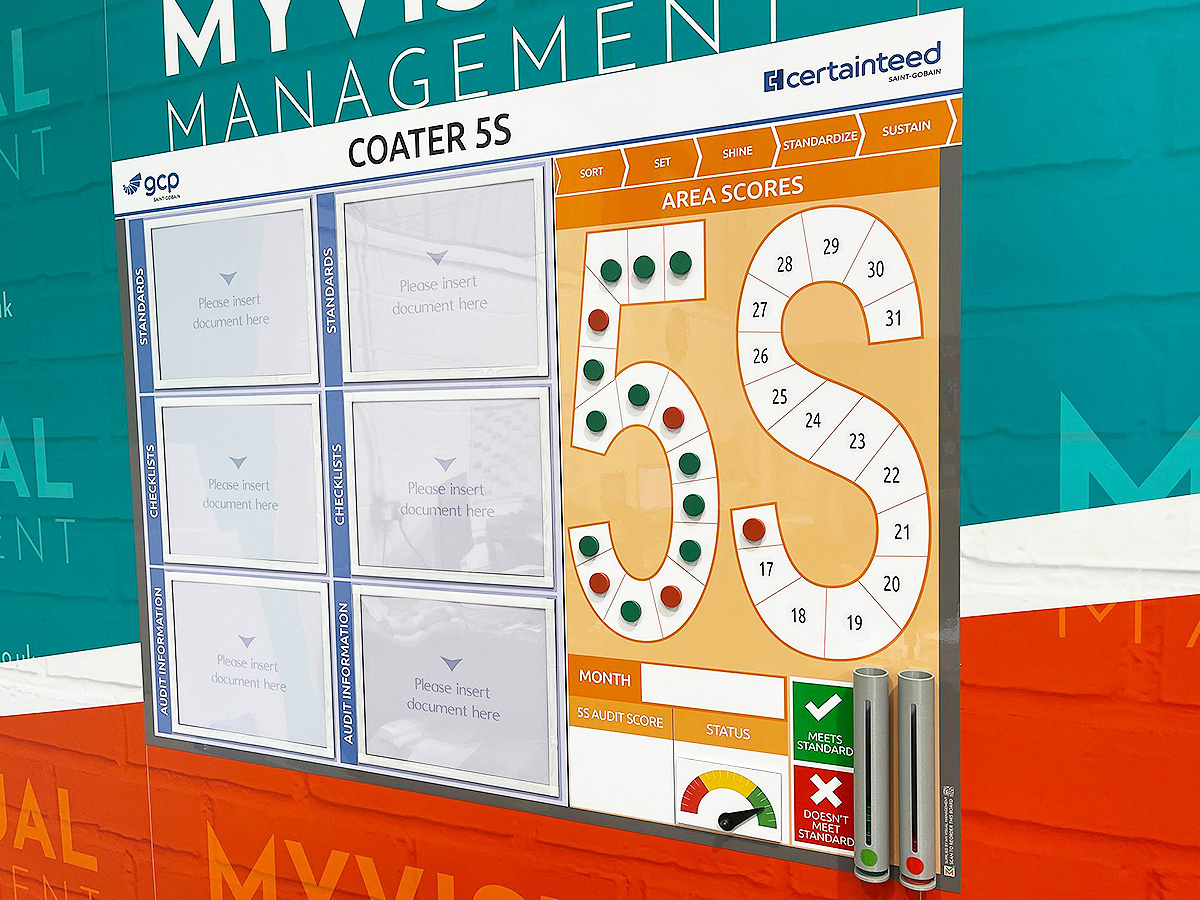
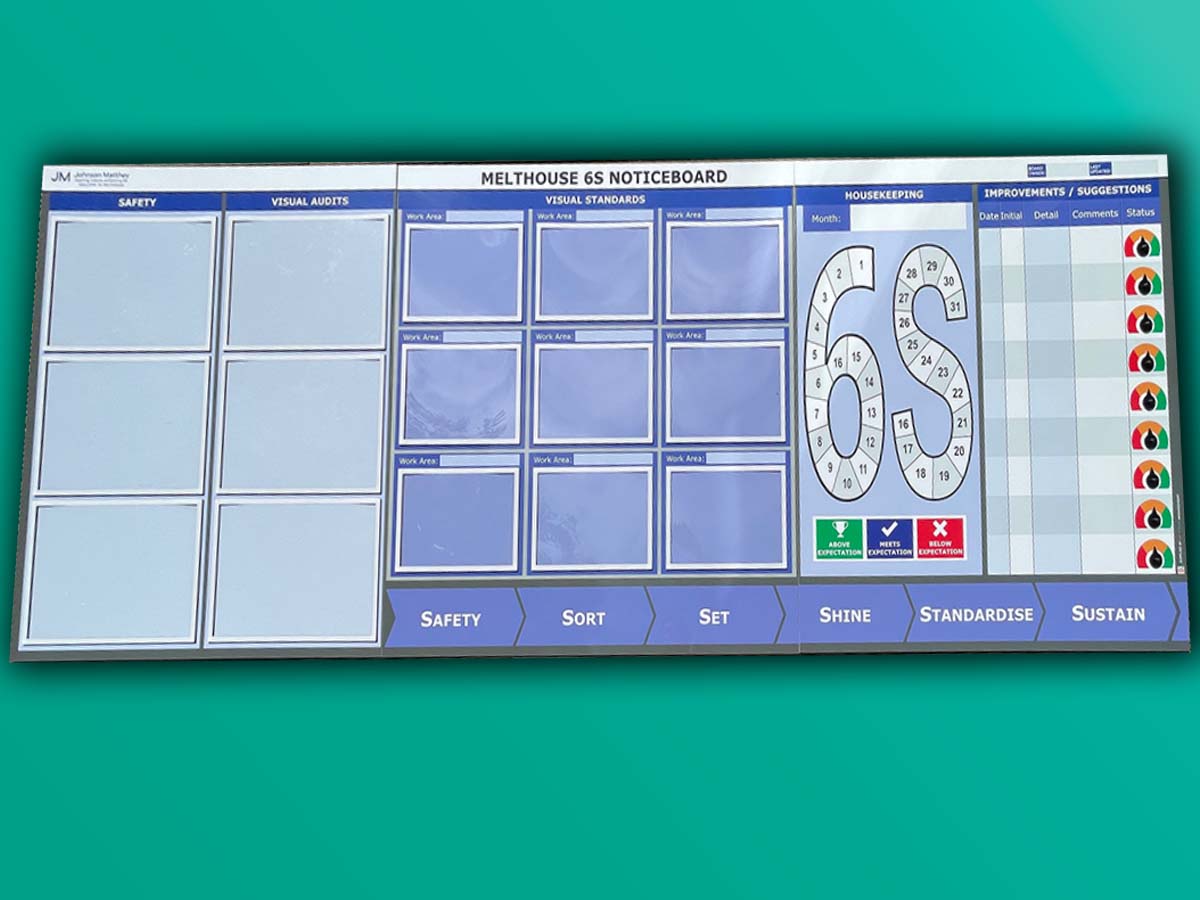
Secondly, make clear what you are assessing. So define each S (Sort, Set in order, Shine, Standardise and Sustain). Furthermore, how each relates to your workplace. In addition, use a visual indicator to show status of each, at a glance.
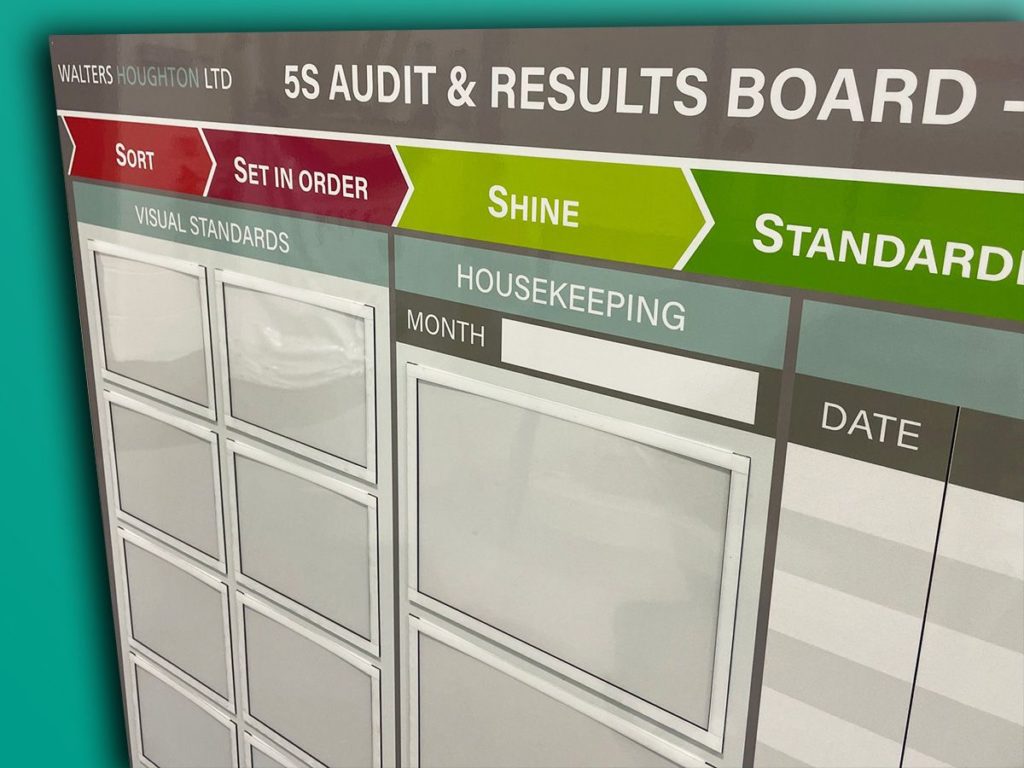
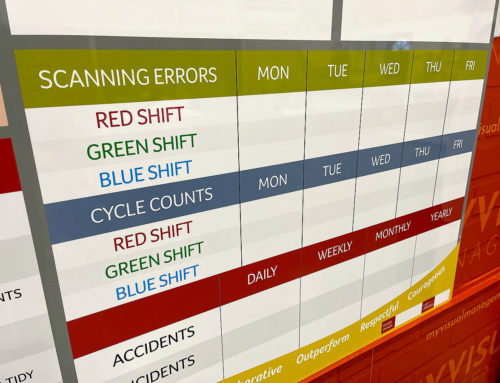
Next, define a clear area for daily tracking. In other words, a place on your board that visually shows progress for your 5S strategy each day. For example, see the ‘house keeping’ section in these projects.
Subsequently, make visual standards accessible and clear. That is to say, show in photos what the work setting looks like in its best state. This is the visual reference so colleagues know what to aim for.
Further ideas: add an improvements area to your 5S board and drive action. Assign ownership for different areas at your workplace. In addition, track your 5S score. Furthermore, foster a culture of sustainment with a visual trend chart.
Finally, make it easy to update. As a result, see information in real time. Therefore, reflect your area as it is right now.
How to make a 5S Board – in brief
- Decide where to put your 5S board (in the area it relates to)
- Define what each S means and how you are assessing it in your workplace
- Set an area on your 5S board for daily tracking to build the 5S habit
- Make visual standards clear and accessible
- Add an area to capture suggestions and points of action
- Consider a visual action plan and trend chart to build and sustain the 5S habit
Further examples
Our Approach
We create visual management boards everyday. As a result we have plenty of experience. We work for organisations in food production, the power industry, national rail, pharmaceuticals, education, healthcare, packaging and distribution.
Our team works with a simple idea or sketch and creates a professionally designed layout. This is then turned into a highly functional visual management board.
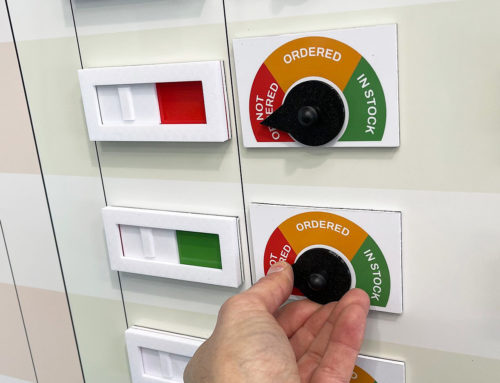
We offer customised options because we want to create the perfect board for you. So, here are a few examples. We can add magnetic areas or a dry-wipe finish (for use with whiteboard pens). Furthermore, you can choose Red/Green sliders or R.A.G. (Red, Amber, Green) status dials so you can quickly and visually update your board. These are just a few examples of the ways in which our boards can be tailored to meet your needs. You may also be interested in whiteboard overlays that can be used on top of an existing magnetic board.


