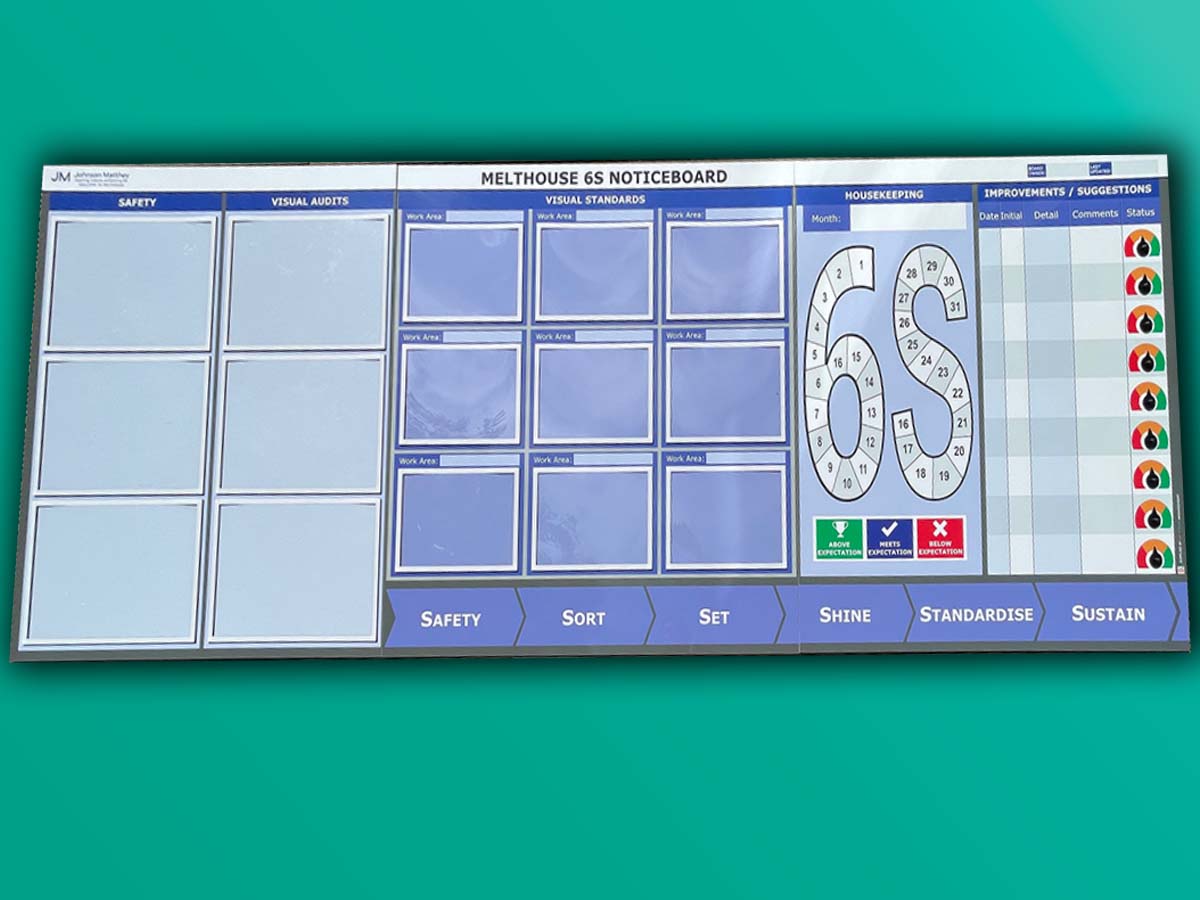
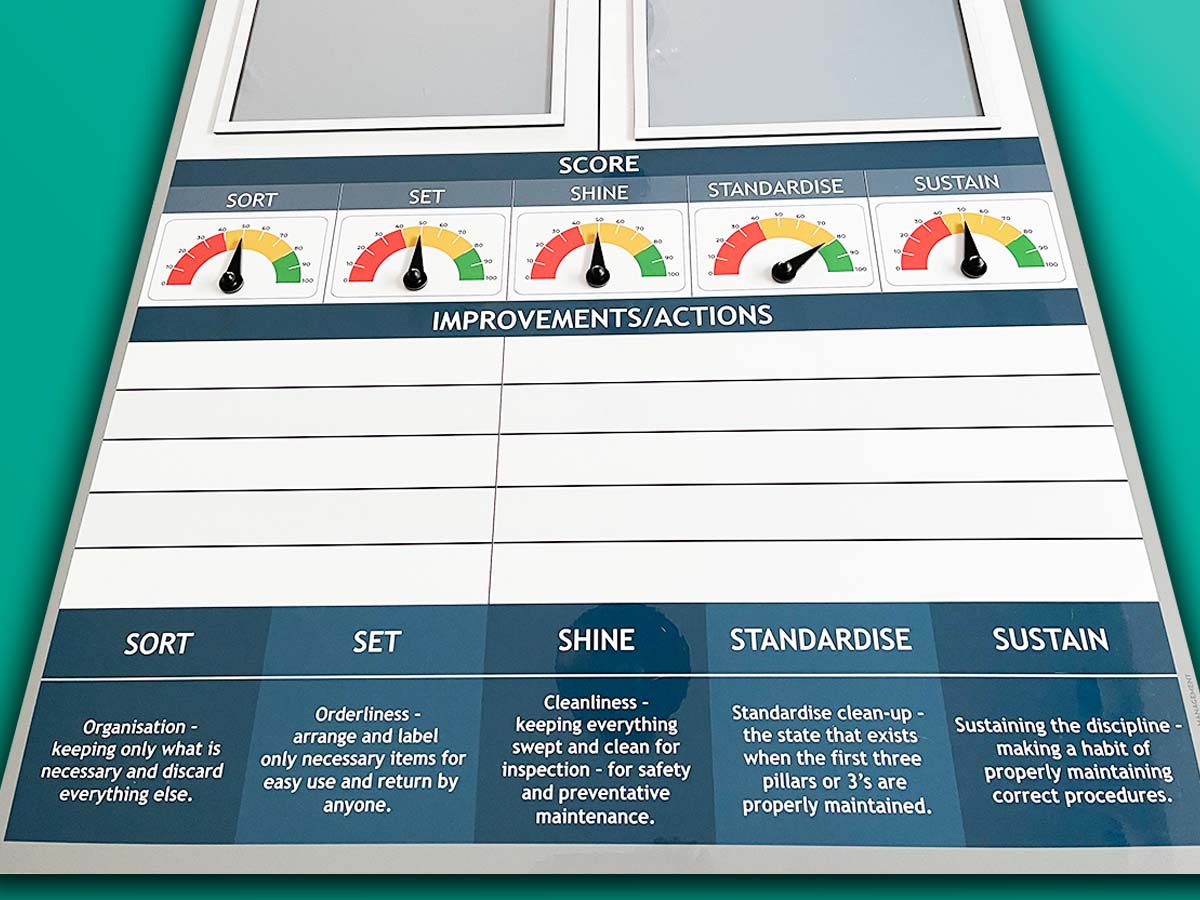
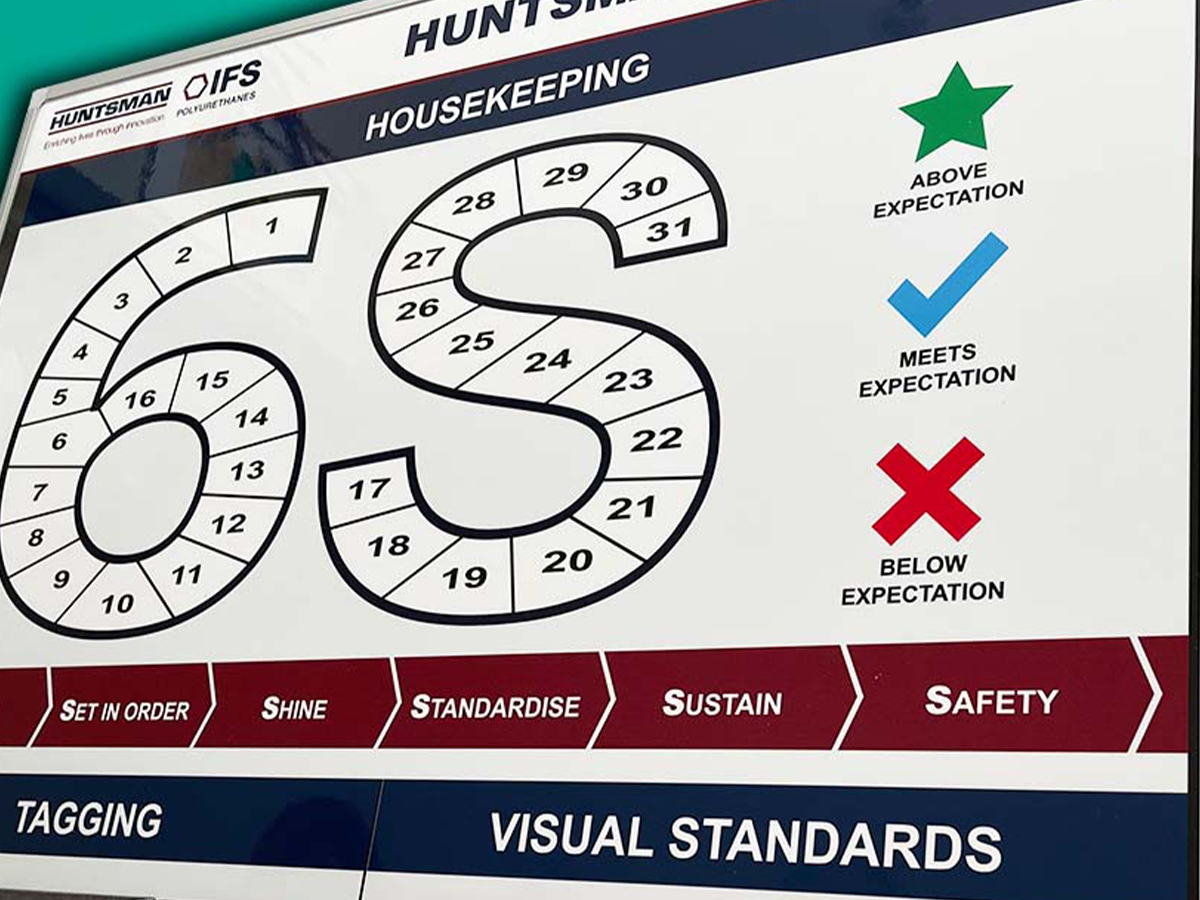
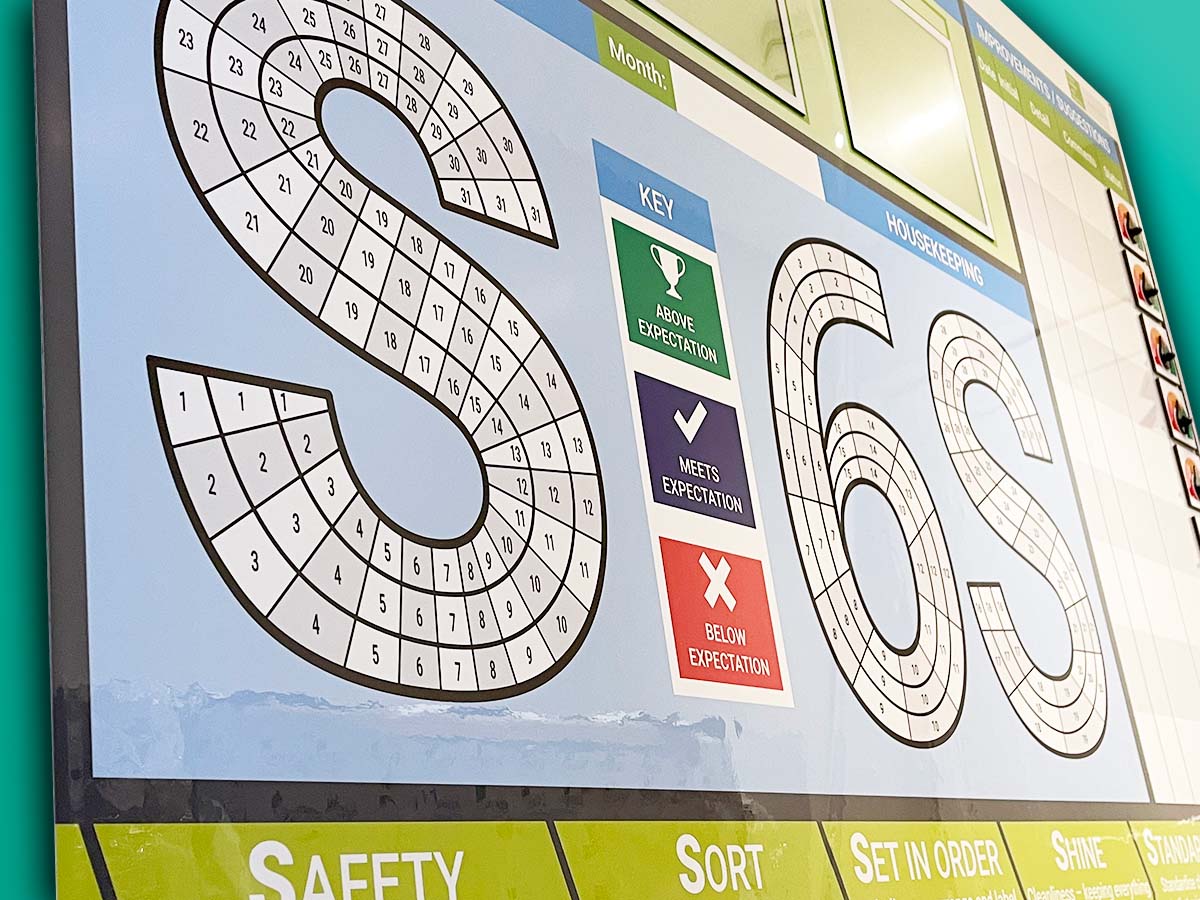
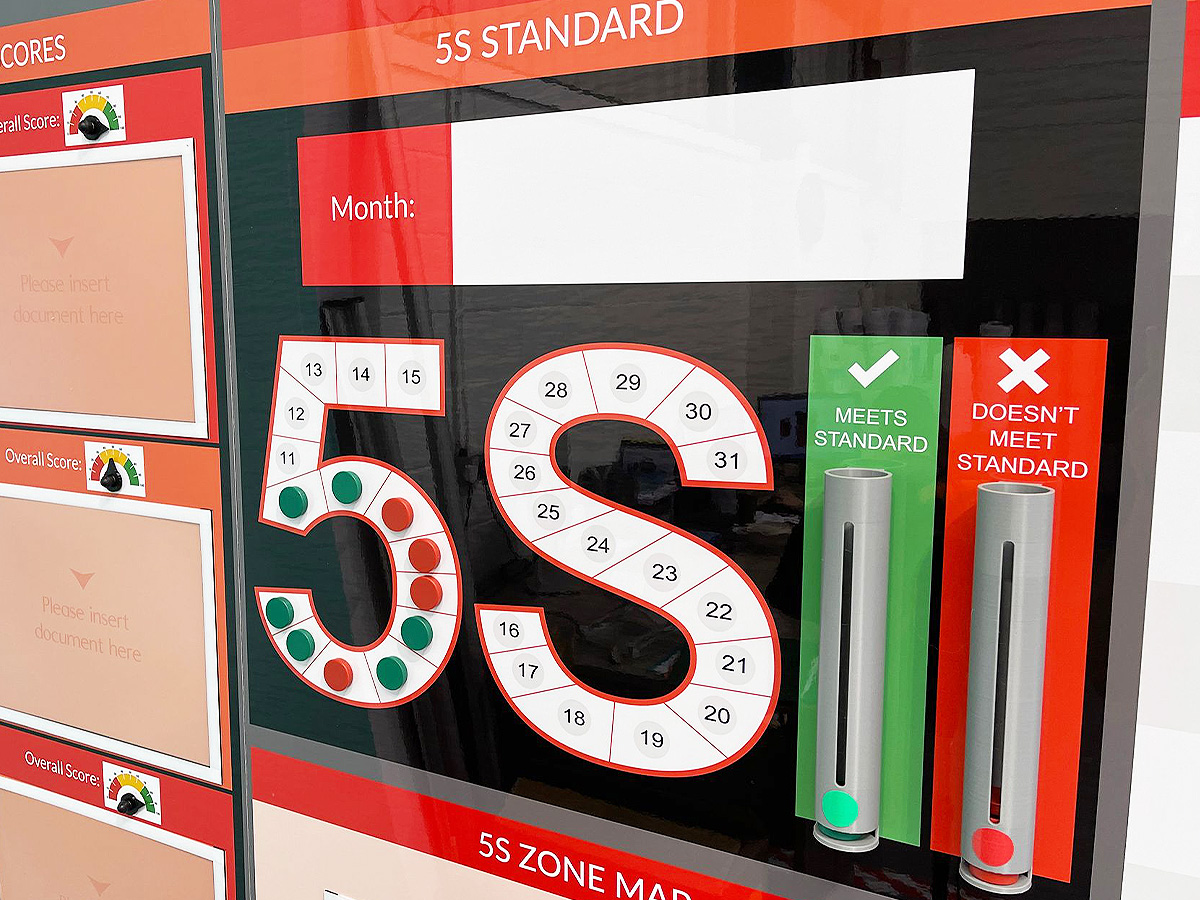
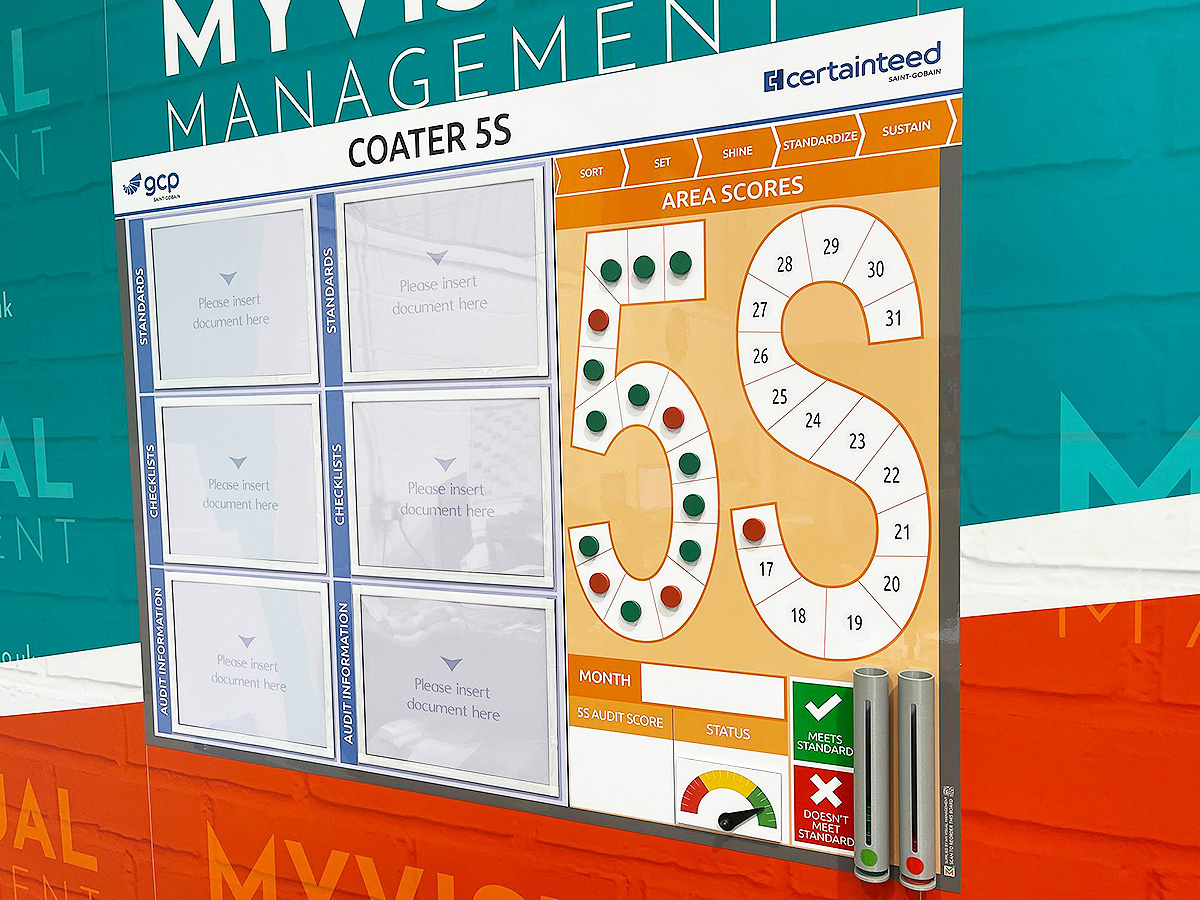
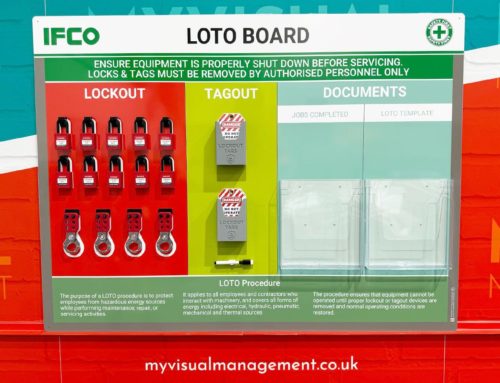
In short, the 6S Board is a visual way to implement and sustain the 6S process. Above all, make your own 6S board to show the 6S process in a visual way. Furthermore, break the process down into visual steps. Therefore use you board to assess progress, at a glance.
Make a 6S board to work smarter
Create a 6S board to organise your workspace. Work smarter (literally). Furthermore, increase performance and productivity as a result. Most importantly, create your own board to make ordering your workplace easy. Likewise, bring the team together to assess progress and get results.
Understanding the 6S process
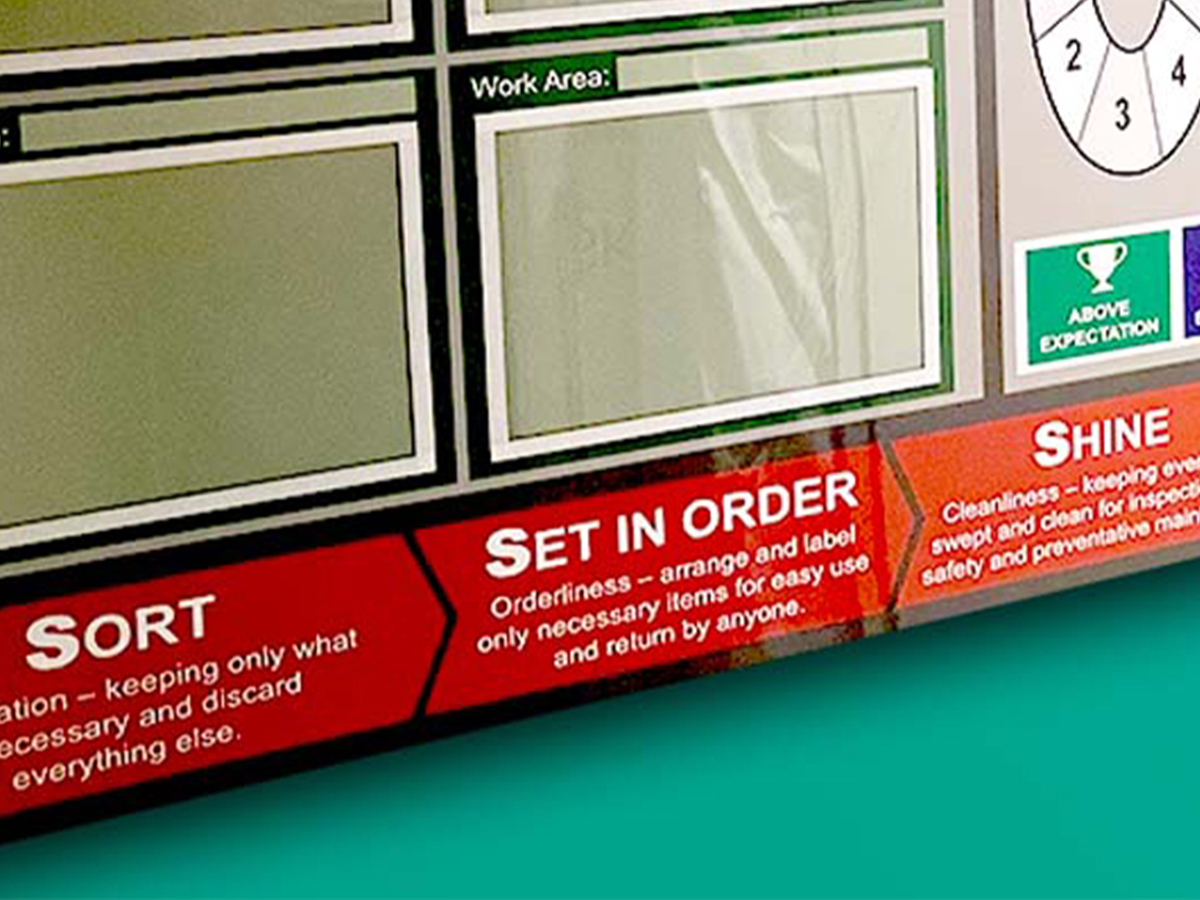
Originating from Japan, this method focuses on six Japanese words. These all start with an ‘S’ hence the “5S” title. Furthermore, these translate as “Sort”, “Set in order”, “Shine”, “Standardise”, “Sustain” and “Safety”.
Find out more about 6S visual management boards.
6S board – support Sort
Firstly, “Sort” refers to assessing all equipment and items in the workspace. In other words, it’s the decluttering phase. Above all, determine if anything needs to be removed, recycled or relocated. Furthermore, take action. Assess and log what action to take on your board.
Set in order
Secondly, “Set in order”. That is to say, what is the most logical way of setting out and storing equipment? This requires thinking in terms of space, frequency of use and so on. Ultimately, equipment needs to be ordered in a way that causes least waste of time, space and effort.
Scheduling Shine
Meanwhile, “Shine” refers to cleaning the workspace. It also extends to keeping equipment and machinery in good order. That is to say, planning, scheduling and managing regular maintenance checks. Use your 6S Board to show this procedure in a visual way.
Standardise the 6S process
Subsequently, “Standardise” means turning the activities of the first 3 Ss into a continuing habit. In other words, create standard operating procedures to maintain an orderly and organised workspace. Most importantly, custom make your very 6S board in support of this. Use it to set and show your 6S standards in way that is immediately clear.
Safety as completes the 6S process
Subsequently, “Standardise” means turning the activities of the first 3 Ss into a continuing habit. In other words, create standard operating procedures to maintain an orderly and organised workspace. Most importantly, custom make your very 6S board in support of this. Use it to set and show your 6S standards in way that is immediately clear.
Further Visual Management ideas that work with your 6S board
Floor markings are useful to organise your workspace. Segregate key areas, or equipment. Furthermore, use them to mark out different areas in a clear way.
Use labels and signs to show key information about equipment. For visual effect, consider colour coding.
Read more about 6S boards and 5S boards here.
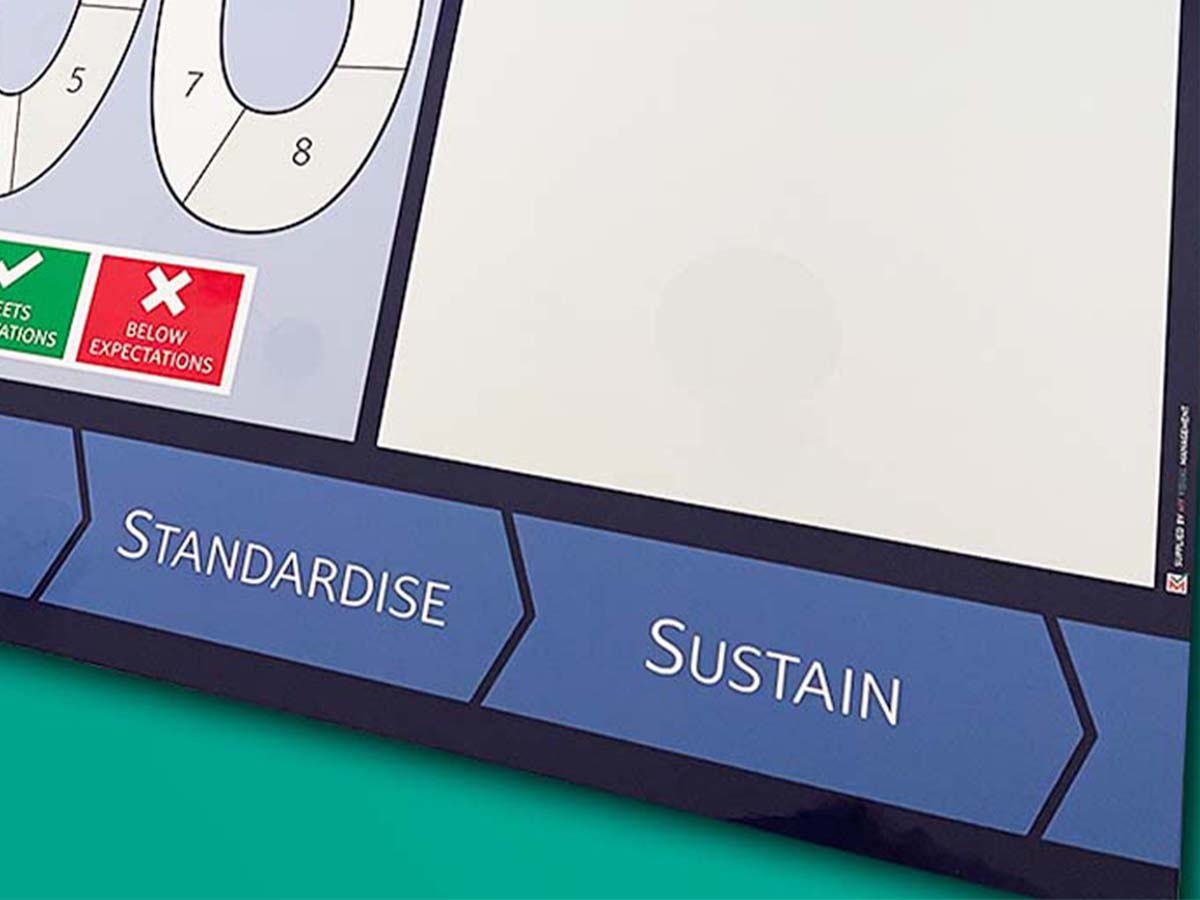
Examples of our 5S and 6S Boards
Our Approach
We create visual management boards everyday. As a result we have plenty of experience. We work for organisations in food production, the power industry, national rail, pharmaceuticals, education, healthcare, packaging and distribution.
Our team works with a simple idea or sketch and creates a professionally designed layout. This is then turned into a highly functional visual management board.
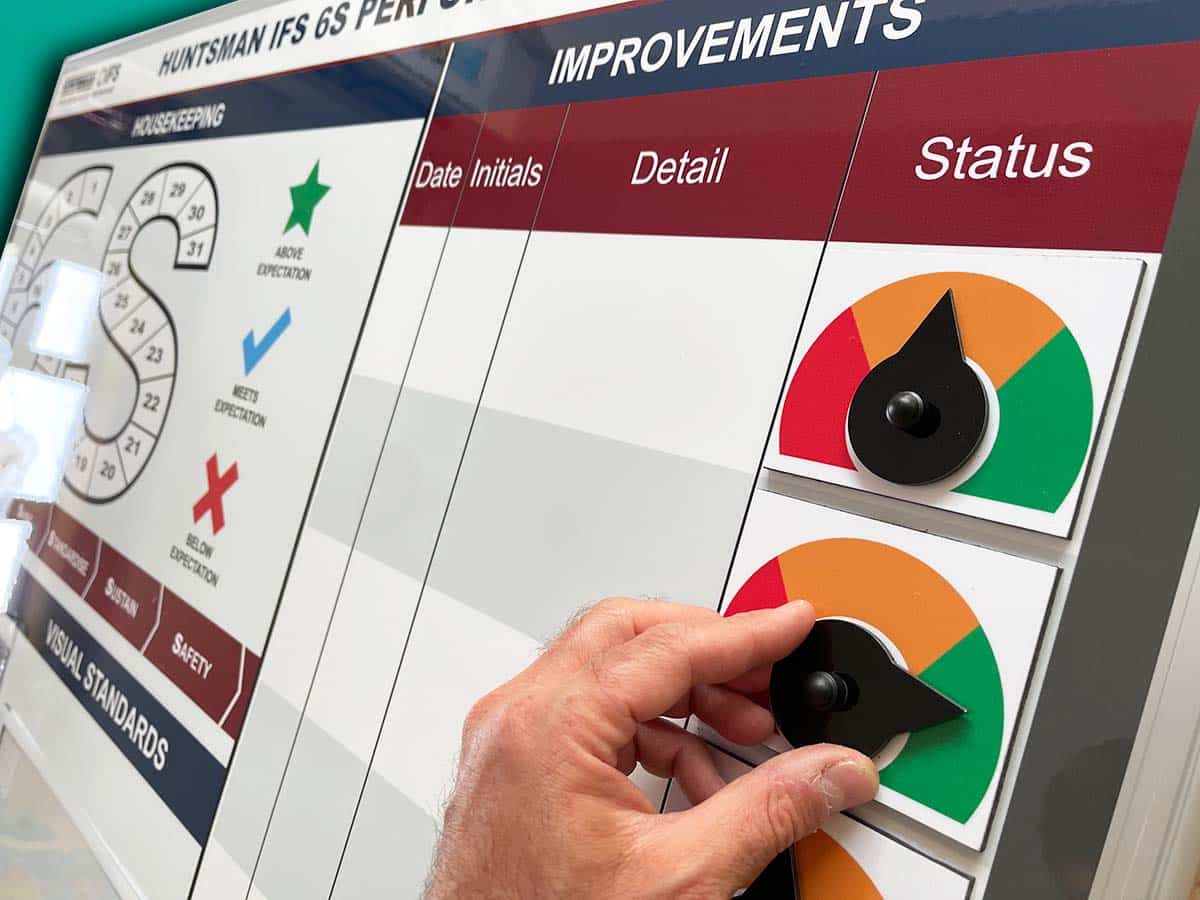
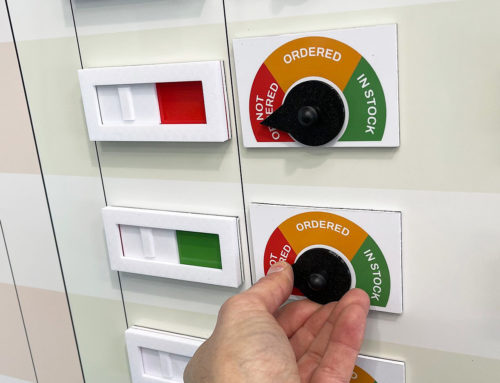
We offer customised options because we want to create the perfect board for you. So, here are a few examples. We can add magnetic areas or a dry-wipe finish (for use with whiteboard pens). Furthermore, you can choose Red/Green sliders or R.A.G. (Red, Amber, Green) status dials so you can quickly and visually update your board. These are just a few examples of the ways in which our boards can be tailored to meet your needs. You may also be interested in whiteboard overlays that can be used on top of an existing magnetic board.


