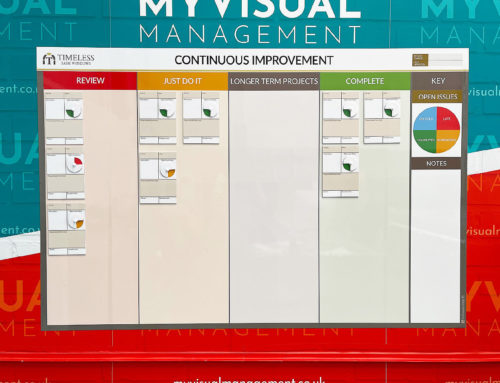
Make your own permit to work boards
More about this example Permit to work board
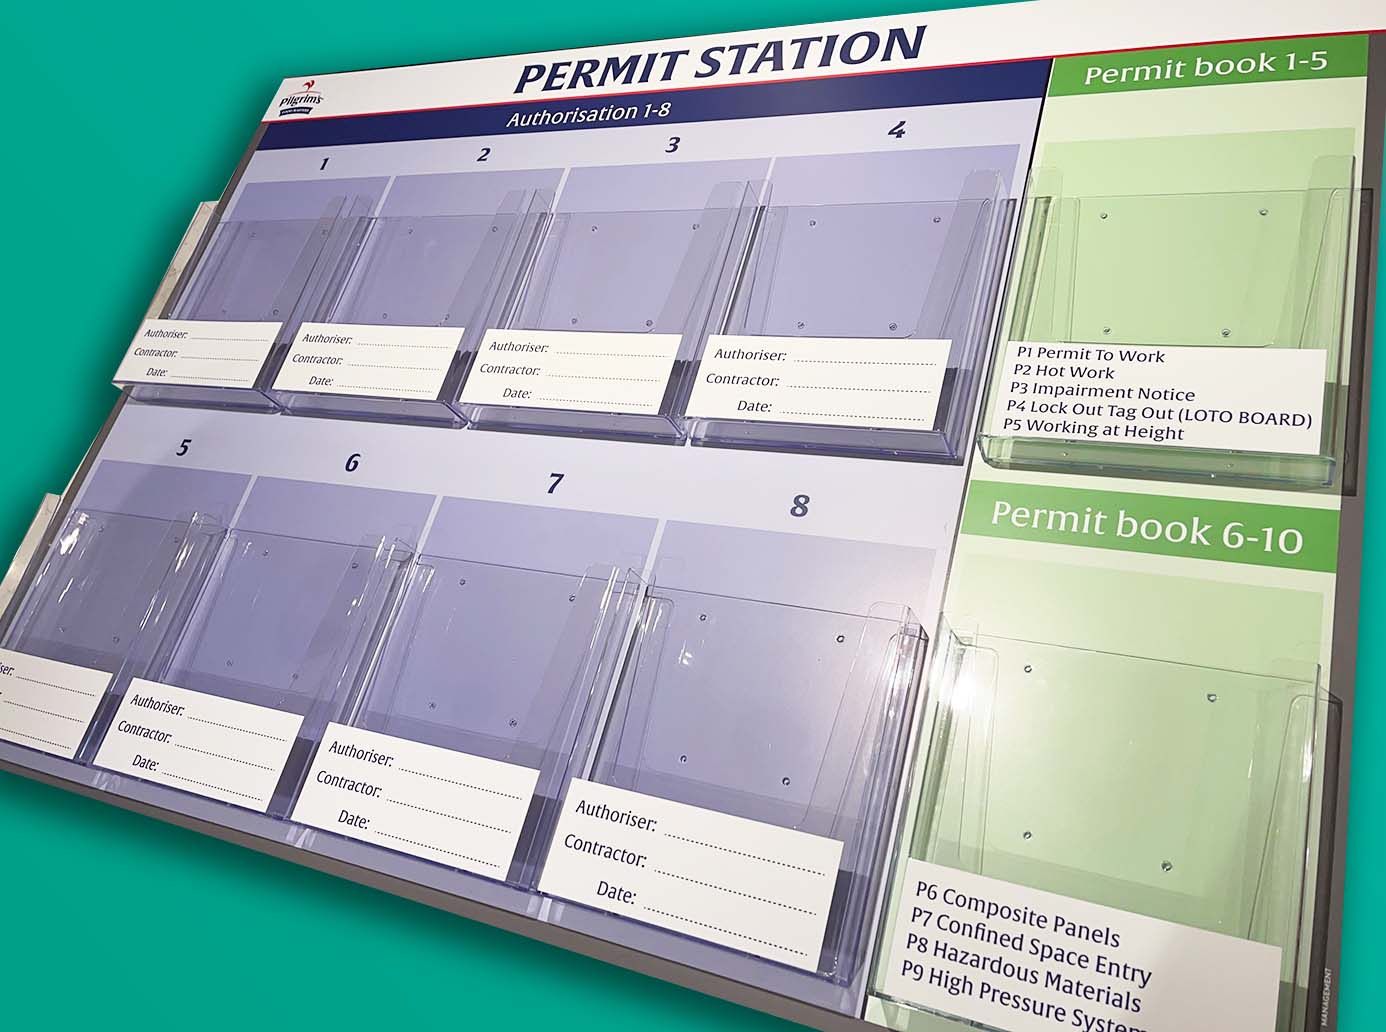
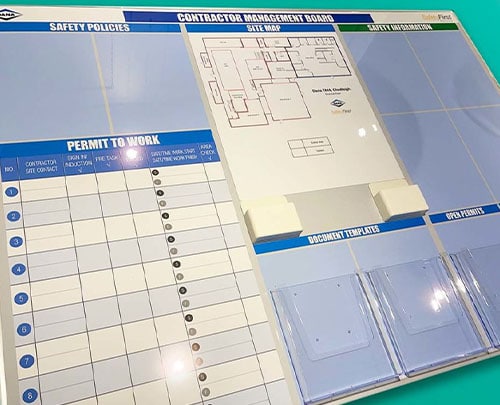
Firstly, use your permit board to show both contractors and authorisers. In addition, log the date and establish time frame.
In short, make all the steps in your permit to work system visual. For example, mark when a contractor’s site induction is complete. Likewise, when the permit is issued. Similarly, log the time frame for work. In other words, mark the start and finish times on your permit to work station. Finally, make evaluation visual. That is to say, show when checks are complete.
Permit to work board show procedures
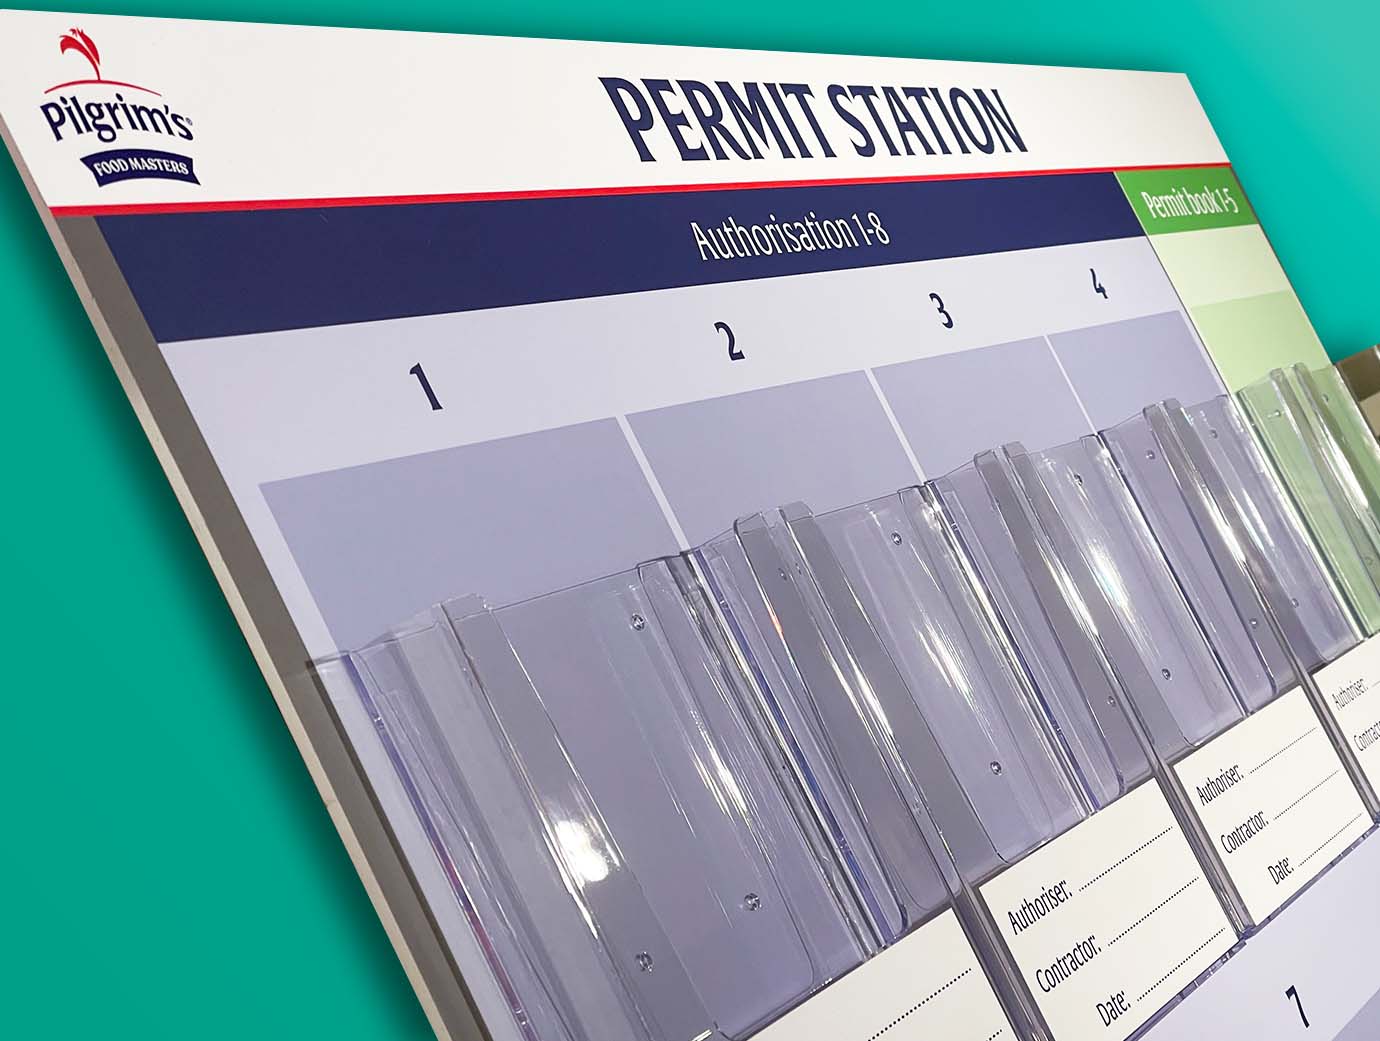
Above all, make your permit system visual and accessible. As a result, make visible who is authorised to carry out work. Likewise, log the specific type of work. Finally, specify the time frame. Most importantly, set out all precautions for working safely on your site.
Document holders for your Permit to work board
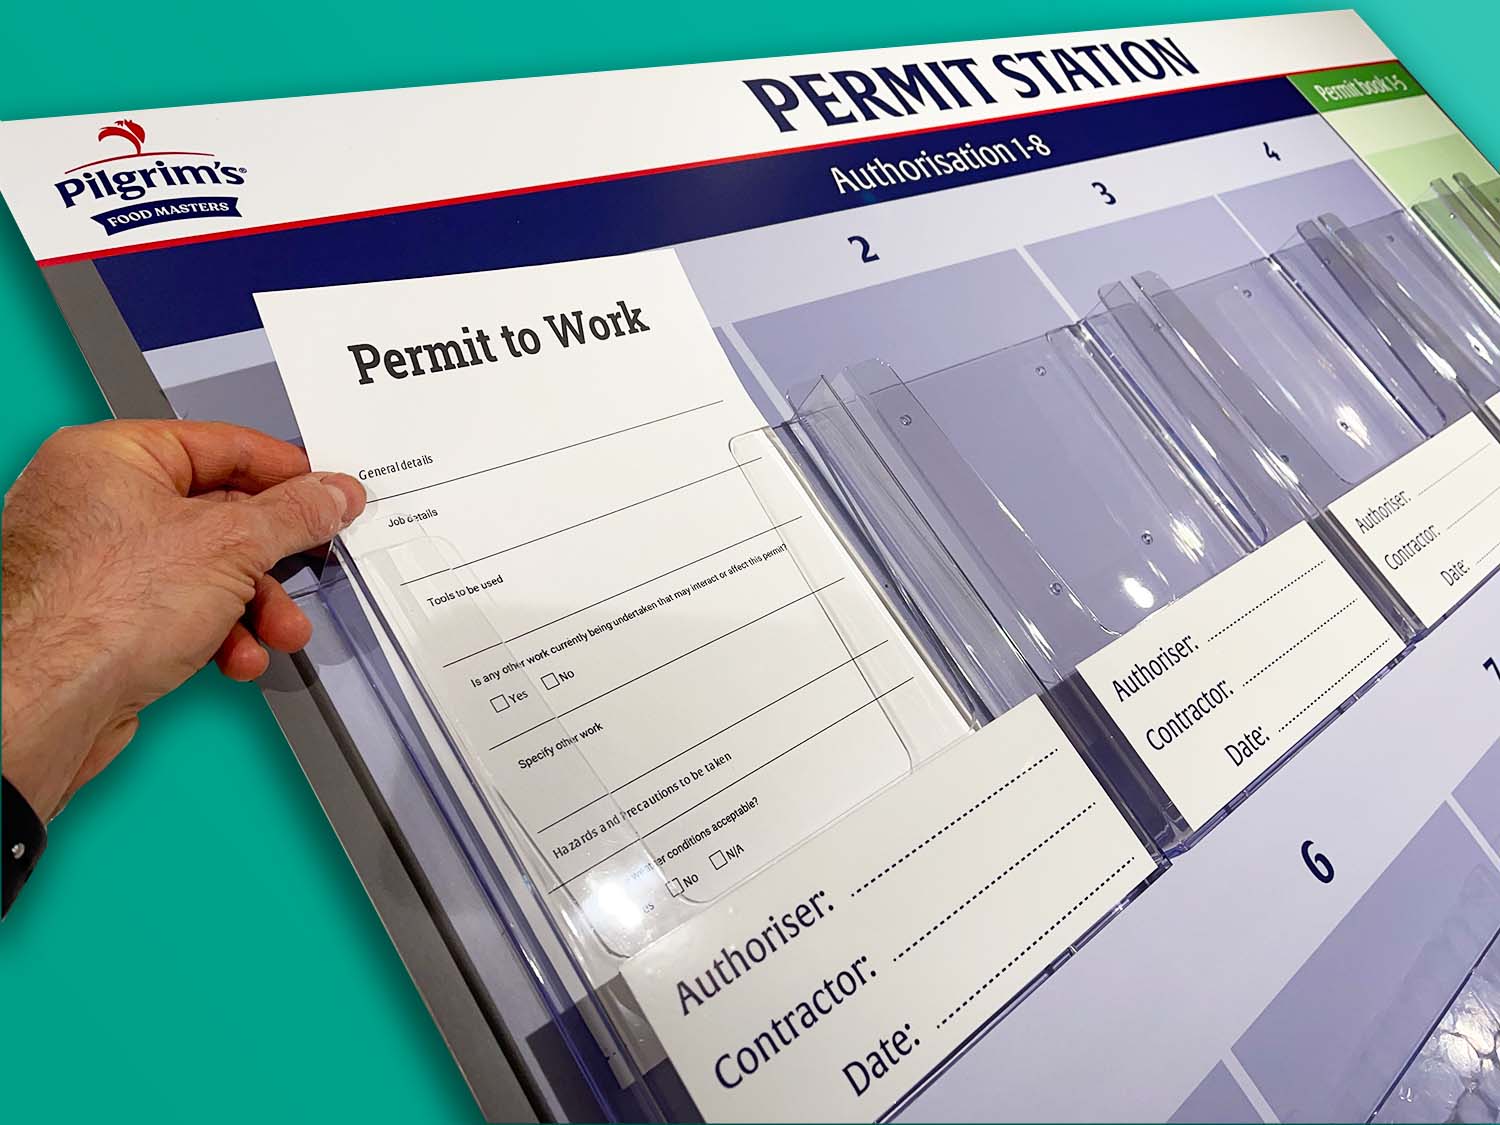
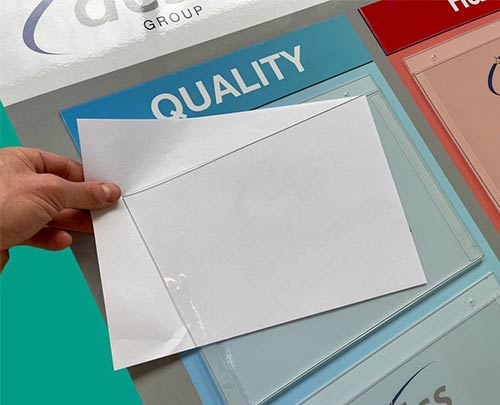
So, make permit books or permit documents easily accessible. Therefore, use document holders to keep them safe.
Firstly, choose magnetic document holders. These offer safe storage for single sheets. Above all, change them fast.
Secondly, store multiple sheets or books. So, achieve this with multi-sheet document holders. Furthermore, stainless steel or acrylic options available.
Dry wipe Permit to work board
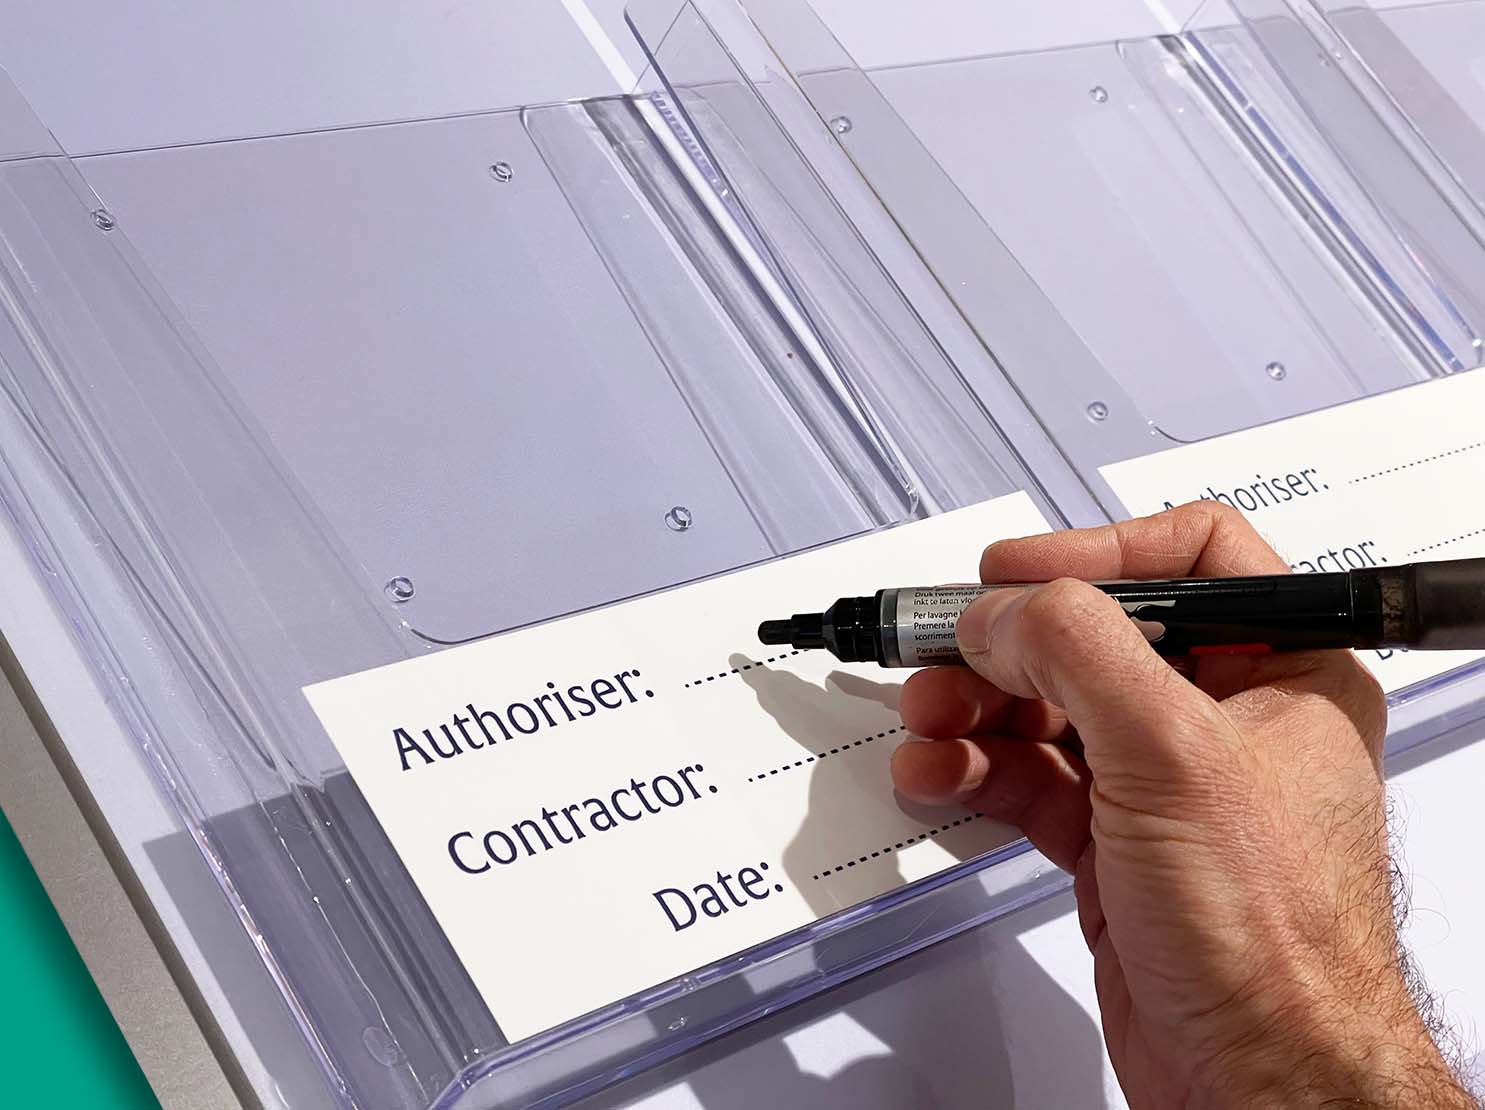
Update key information instantly. For example, write contractor names directly on your board. Erase, amend, edit easily anytime. Similarly, complete tick or check columns. Therefore, show progress in real time.
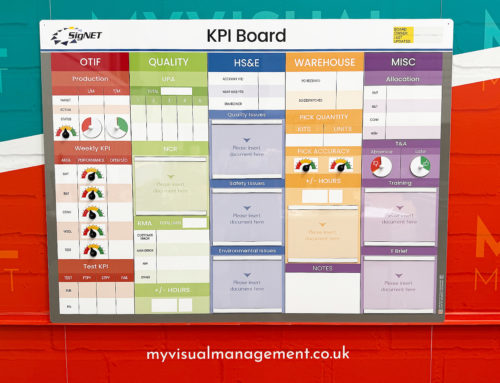
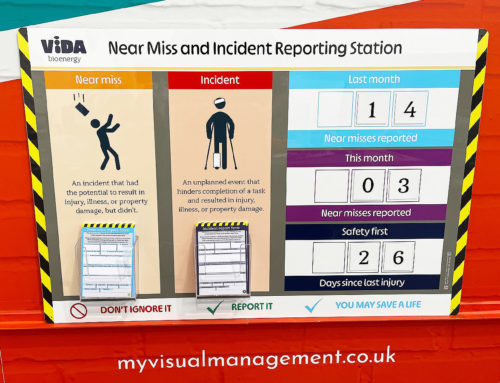
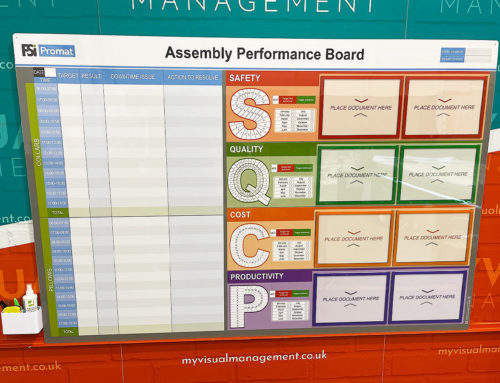
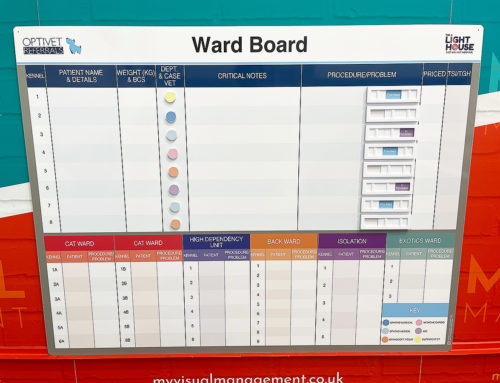
Further examples of our Team Management Boards
You May Also Like
Our Approach
We create visual management boards everyday. As a result we have plenty of experience. We work for organisations in food production, the power industry, national rail, pharmaceuticals, education, healthcare, packaging and distribution.
Our team works with a simple idea or sketch and creates a professionally designed layout. This is then turned into a highly functional visual management board.
We offer customised options because we want to create the perfect board for you. So, here are a few examples. We can add magnetic areas or a dry-wipe finish (for use with whiteboard pens). Furthermore, you can choose Red/Green sliders or R.A.G. (Red, Amber, Green) status dials so you can quickly and visually update your board. These are just a few examples of the ways in which our boards can be tailored to meet your needs. You may also be interested in whiteboard overlays that can be used on top of an existing magnetic board.


